The Apple Lisa was awesome, everything about it was extravagant. The Lisa boasted one megabyte (or more) of RAM and a graphical interface that was stunning in its absolute uniqueness. Priced at about $10,000, this was the Rolls Royce of personal computers in 1982. At the time, I wanted one so badly I could hardly stand it. Little did I know that someday...
![]()
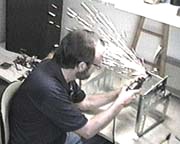
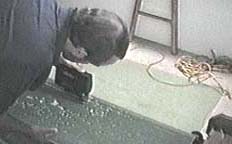
The first step in building a tank is to prepare the case. The Lisa was constructed very differently from the PC's we know today. Except for the outside covers, very little plastic is in this computer. The Lisa has a stainless steel inner frame and can be completely disassembled. After removing the innards of the computer, anything that sticks up, out, or down must be ground flat. I used a Dremel rotary tool for most of this work. Grinding the steel frame (see sparks, above left) was noisy but fun.
![]()

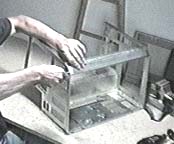
Now I put the case back together and make measurements, draw pictures and try to visualize how the tank pieces must be shaped. This tank will be made from three pieces of acrylic and will have only two long seams. I want the front of the tank to be as close as possible to the faceplate of the computer. The inside of the monitor opening has been filed down to minimize the curve of the original picture tube.
![]()
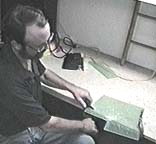
In the pictures above I'm cutting the long piece that will form the middle of the tank. I used a jigsaw running at a fairly slow speed (to avoid melting the acrylic). Leave the protective film on for as long as possible. A nice, straight cut here can save hours of labor filing the edge smooth later. If cutting is necessary after the film has been removed apply a strip of wide masking tape to both sides of the acrylic and cut through the tape.
![]()
These are the legs of the Lisaquarium. The final shaping is done with a file. The finished tank must be easily removable from the frame for repair or refurbishment. I cut and fitted one leg and then used it as a pattern for the other leg.
![]()
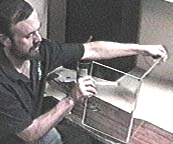
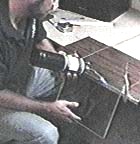
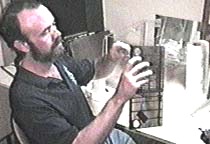
Bends are made with a propane torch. Care must be taken to heat evenly. If the acrylic gets too hot, it will bubble. After making the bend the acrylic remains soft for a couple minutes. By cutting and shaping the legs first I have a template to help get the bends in the correct place and angle. Be very careful not to scratch the acrylic!
![]()
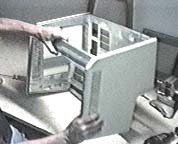
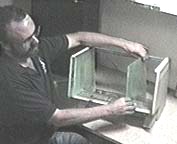
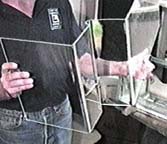
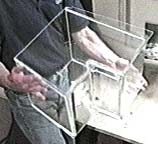
This is the center piece of the Lisaquarium. It forms the face, bottom and back of the tank. In the picture (above left) the front of the tank is in my right hand and the last bend going upwards to form the back wall of the tank has not yet been done. In the picture (above right) the finished piece is test fitted in the case.
![]()
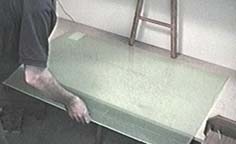
Here the three pieces are bonded together and the tank is ready for leak testing. This tank holds 6 gallons (US). Note that the legs extend back past the rear wall of the tank (above right). This allows room for the original logic board from the Lisa (or a mirror or whatever) to become the backdrop of the aquarium.
![]()

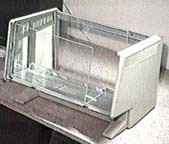
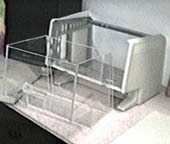
The undergravel filter plate was made by hacking and glueing a commerical kit into the needed shape. It's ugly but it works. I used aquarium sealant to attach a block of air valves to the right side of the tank. The tank as pictured (above right) is ready to slip into the case and add gravel, water and fish and enjoy!
Back to AquariaMain.